Hi, in this post i will show a interesting tool called GIT. If you're a new programmer it's normal to understand that you never heard about git repository, after all, it's a little confuse to understand in the beginning. But, if this is not the first time that you program something, you may had already heard about git and the advantages to use it. A lot of software developers knows the git protocol and for my surprise, i found that there are a lot of hardware developers that never heard about Git. Well, i learned about this protocol by a teacher that helped me to create a organize code and safe version controller for my projects, he always spoke that in bigger projects and companies, this tool is fundamental. Then let's learn what's this protocol and how to use it:
Wikipedia resume: In software development, Git is a distributed revision control and source code management (SCM) system with an emphasis on speed.Git was initially designed and developed by Linus Torvalds for Linux kernel development in 2005. Every Git working directory is a full-fledged repository with complete history and full version tracking capabilities, not dependent on network access or a central server. Git is free software distributed under the terms of the GNU General Public License version 2.
This is a good resume about git and i think there're a lot of information about history of this protocol in the internet, but i think that's more interesting learn about how to use it. I will show some commands and give an example to explain them. First, git is a protocol for a repository, in other words, in some place you will have your source files from your project stored(data local server, cloud servers...) and using GIT, you will be able to upload more files or edit them and for each modification you will have the date and comments. Initially you think, "I don't care about control version, i'm organized enough!", in the beginning i thought the same thing, but with the time you will have three, four...twenty files named "main_v1_0.c" and your single information will be the windows/linux data of creation file and the devil will embrace your shoulders for a time. For who wants to learn about how to create a repo and how to use it with git, follow me in the next steps:
Step 1. Choose a repo:
Well, there're a lot of web repos, but the most famous are Git Hub and Bitbucket, the basic difference is that in git hub your codes will be able for anyone to see and in the bitbucket you have a private repository where you can control who can see or work in the project. Talking about space, both do not have code size limitation, but both recommend that each repo has less than 1GB and about suppoort git hub has a much larger community than BitBucket. I prefer bitbucket because of the privacy, but both are good repositories.
Let's use to explain the bitbucket, i don't know well but i think that's almost the same thing on github to create a repository on website.
-First access the website of bitbucket (https://bitbucket.org/)
-First access the website of bitbucket (https://bitbucket.org/)
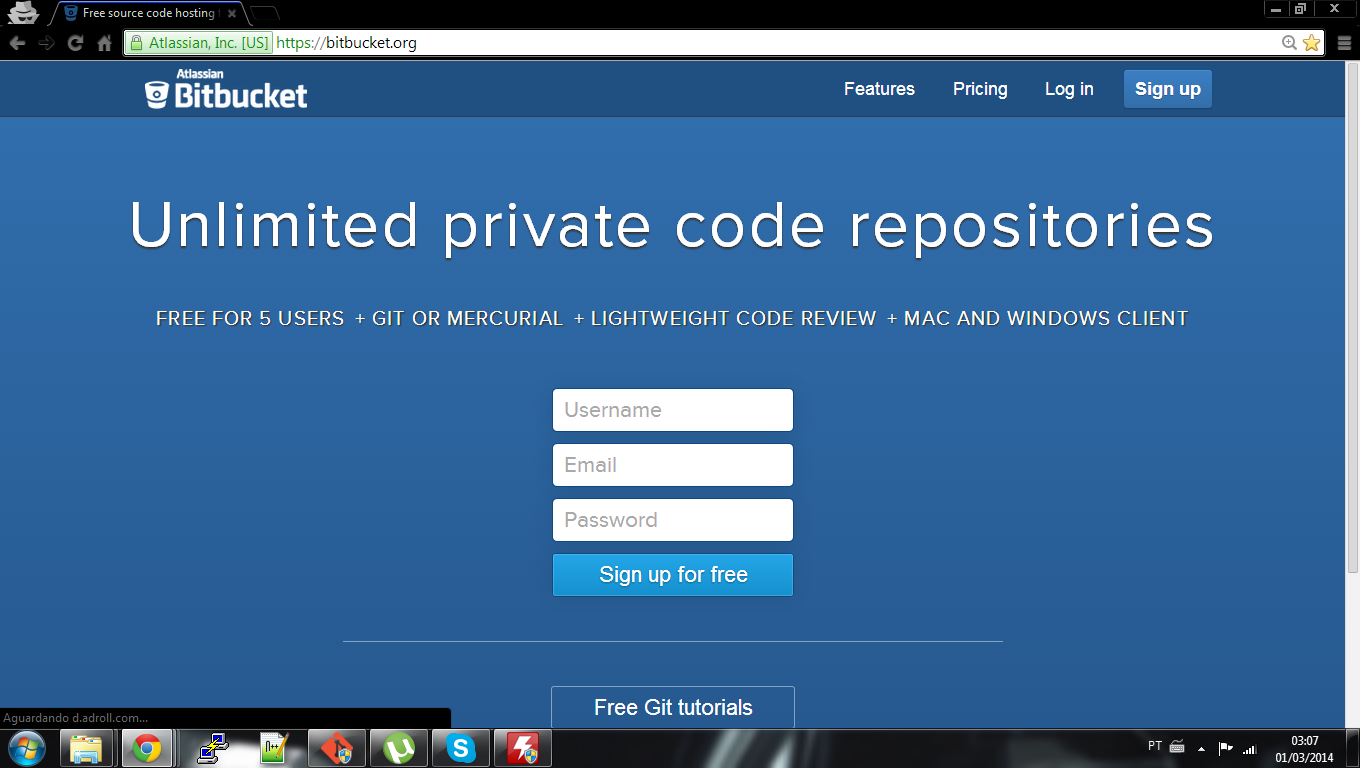
-Then create your free account and log in.
-Create your first repository.


Ok, you create a account and you already have a repository for a project, now you need to create a copy to your computer where you will develop your project and after modified the files, upload them to the repository. If you pay some attention, you will see that in one step, the site gives you a code like below:
git clone https://esplatforms_test@bitbucket.org/esplatforms_test/tutorial.git
This code is important to you use to copy the repository structure to your computer. If you skipped when it was shown, do not be afraid, you can see this code again in the "clone/https" icon:

Step 2. Configure the client:
If you're a windows/mac user, you can download the tools for git client in this link. After install just open the program and select the directory to add your repository files. Then paste the code "git clone htt..." with "shit+Insert" keys on the terminal emulator. Before you press ENTER and copy the files from repository, add your password after the name of your directory on the command, like "git clone https://name of your repo:password repo(same the website)@bitbucket.org/......" and press enter:

The git protocol will copy all files of your repo to your local computer. After you can enter in your directory and see the files created, you will see threes files that's the same if you click on tab "source" of bitbucket repository. This files comes with the tutorial repo that you created before, in other words, you're sync with the repository and if you type:
git status
You will see that you're up-to-date with the repo and there's nothing to do. Ok, now let's add a file and upload for the repo. First open any text editor and create a simple file, after save it in the repo directory. The git protocol works this way:

First add the files that are in the version that you will send to the repo with "git add", then lock this version with the "git commit" and then send the files to the repo with "git push". I will show an example with the file that i created named "test.txt":

If you note in the bitbucket, you will see that the file was copied to the repository with the commentary that a i put in the terminal. I will put the three commands that i used to demonstrate this sample version:
git add . #add all files to the version that i will send, you can also send one by one typing git add test.txt ....
git commit -m "Commentary" #Lock the version that will be send to the repo
git push origin master #Send your locked version to the repo
If you use the git in other computer with the same repository, just type "git pull" to update your local repository before work. Still there are a lot of information about git to study, i recommend you to see about "branches on git" after do this tutorial. For while let's finish here and see you next time. Any doubts just comment below and i will be greatful to answer you. Tks All.